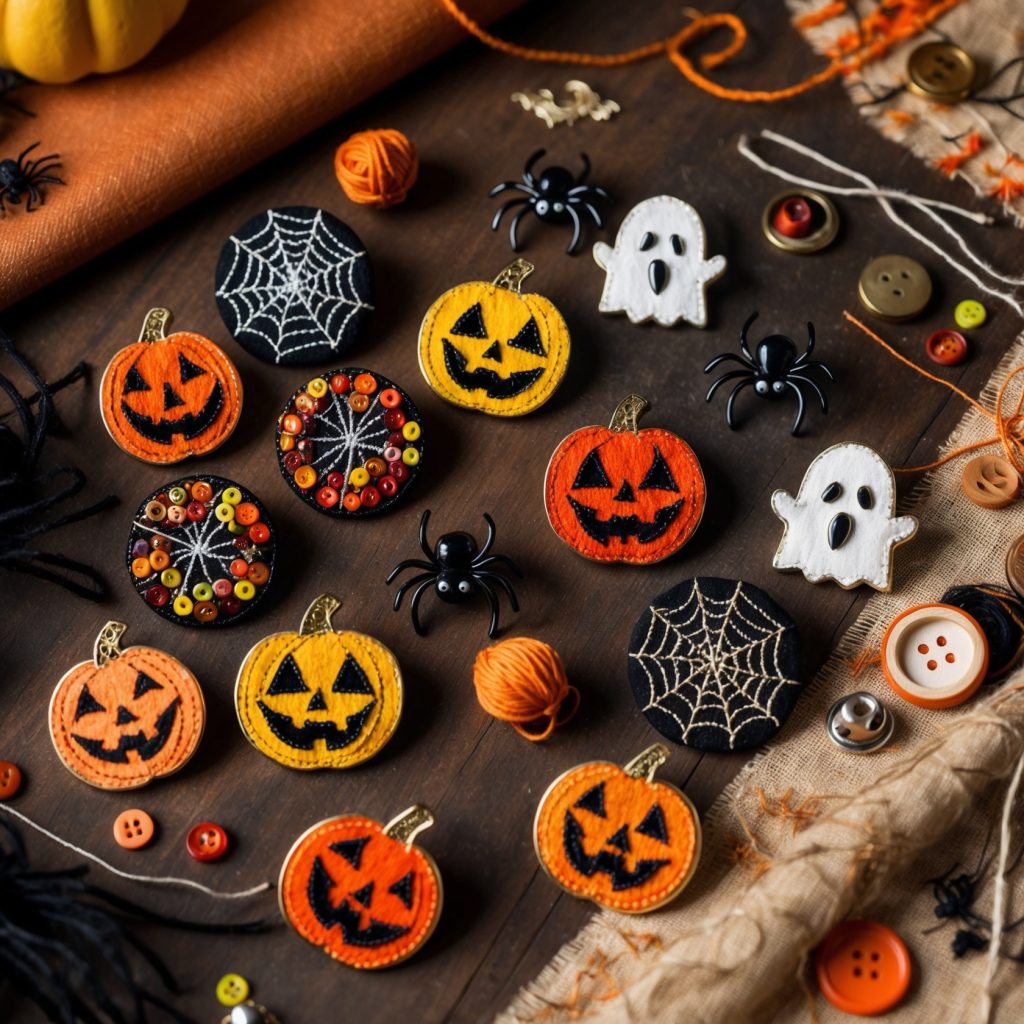
Halloween is the perfect season to let your creativity shine, and one unique way to celebrate the spooky holiday is by crafting your own Halloween lapel pins. Small but powerful, lapel pins add a touch of personality to any outfit, costume, or accessory, making them an excellent choice for Halloween. These pins can showcase iconic Halloween symbols, such as pumpkins, witches, bats, or skeletons, and allow you to personalize your look in a subtle yet stylish way.
Whether you’re an experienced crafter or just beginning, creating your own Halloween lapel pins is a fun and rewarding project that adds a personal twist to your Halloween ensemble. In this article, we’ll cover everything from selecting materials and designing concepts to crafting techniques and styling ideas, so you can make your Halloween lapel pins as spooky and unique as you like. Let’s dive into the world of DIY Halloween lapel pins and bring your spooky vision to life!
Why DIY Halloween Lapel Pins Are the Perfect Halloween Accessory
DIY Halloween lapel pins are more than just a craft project; they’re a unique way to express your personality and Halloween spirit. Here are a few reasons why they make the perfect accessory:
- Personalized Style: When you create your own Halloween lapel pins, you can design them to fit your specific style. Whether you want spooky, cute, or vintage-inspired, the design is entirely in your hands.
- Small and Versatile: Lapel pins are easy to wear and can be added to jackets, bags, hats, or even Halloween costumes. Their small size allows you to showcase Halloween spirit without a full costume.
- Great for All Skill Levels: Making Halloween lapel pins is a fun and accessible project that both beginners and seasoned crafters can enjoy. With just a few materials, anyone can create a unique piece of wearable art.
- Collectible and Reusable: Halloween lapel pins are easy to collect, and you can reuse them year after year, adding new designs to your collection with each Halloween season.
DIY Halloween lapel pins are not only fashionable but also practical, giving you a chance to create a custom accessory that reflects your love for the spooky season.
Essential Materials for Making DIY Halloween Lapel Pins
Before diving into the design process, gathering the right materials is essential. Here’s a list of basics to help you get started:
- Pin Backs: These are the metal pieces you’ll attach to your design to turn it into a pin. They come in various sizes, so select a size that matches the dimensions of your pin design.
- Polymer Clay or Shrink Plastic: Polymer clay is ideal for creating durable, lightweight pins that you can mold and shape. Shrink plastic is another fun option that shrinks your design down when heated, making it thicker and sturdier.
- Acrylic Paint or Permanent Markers: Use paint or markers to add color and detail to your pin design, especially if you’re working with clay or shrink plastic.
- Sealant or Varnish: Protect your design and ensure it lasts by applying a clear sealant or varnish once your paint has dried.
- Brushes, Dotting Tools, and Sculpting Tools: These tools help you create intricate designs, details, and textures. Toothpicks or dotting tools work great for adding details, while sculpting tools make shaping clay easier.
- Glue: A strong adhesive, such as E6000 or super glue, will help secure the pin back to your design.
With these materials in hand, you’re ready to start creating spooky Halloween lapel pins that capture the essence of Halloween.
Step-by-Step Guide to Making DIY Halloween Lapel Pins
Crafting Halloween lapel pins can be broken down into simple steps, making it easy to follow along and bring your design ideas to life. Here’s a guide to help you create custom Halloween pins that are as spooky as they are stylish.
Step 1: Choose a Halloween Theme or Design
Choosing a theme is the first step to creating an eye-catching Halloween lapel pin. There are countless Halloween-inspired designs to consider, so take a moment to think about the look you want. Some popular ideas include:
- Classic Icons: Pumpkins, ghosts, witches’ hats, and skulls are timeless Halloween symbols that make great pin designs.
- Spooky Animals: Black cats, bats, and spiders add a creepy yet cute vibe to your pin collection.
- Haunted Elements: Cauldrons, candles, tombstones, and haunted houses bring a mystical, haunted feel to your pins.
- Cute and Playful: If you prefer a lighthearted touch, consider designing friendly ghosts, smiling pumpkins, or a playful black cat.
Having a clear design in mind will help you move forward with crafting your Halloween lapel pin. Sketch your ideas on paper first, experimenting with shapes, expressions, and styles until you find the look you want.
Step 2: Shape Your Design Using Clay or Plastic
If you’re using polymer clay, start by molding the clay into your desired shape. For example, roll orange clay into a small, rounded shape for a pumpkin pin, then use a sculpting tool or toothpick to carve lines into the surface. If you’re making a ghost, start with a round white shape, then sculpt small arms and use tools to give the ghost a playful expression.
If you’re using shrink plastic, sketch or trace your design onto the plastic sheet, then color it in with permanent markers or paint. Remember that the plastic will shrink, so create your design larger than you want the final pin to be. Once you’re satisfied with the shape, bake the clay or shrink the plastic according to the package instructions.
Step 3: Add Color and Details
Once your base shape is ready, it’s time to bring it to life with colors and details. Use acrylic paints or permanent markers to add depth and personality to your pin.
Tips for adding color and detail:
- Layer Colors: Layer lighter colors over darker ones for depth, such as painting a lighter orange on top of a dark orange pumpkin for a more realistic look.
- Add Highlights: Use white or yellow paint to add highlights to eyes, teeth, or other details. For a ghost, a small dot of white in each eye can make it look more lively.
- Use a Fine Tip for Details: Use a fine-tipped brush or marker for intricate details, such as eyes, teeth, and shading on your pin.
- Outline in Black: Adding a black outline makes the design pop and gives it a cartoonish, playful style. It’s particularly effective for designs like jack-o’-lantern faces or ghostly expressions.
Allow the paint to dry completely before proceeding to the next step to avoid smudging.
Step 4: Apply a Sealant for Durability
After painting, protect your design with a clear sealant or varnish. This step ensures that the colors stay vibrant and that the pin is durable enough for repeated use.
Choose a sealant based on the material you used:
- Polymer Clay Sealant: For clay pins, use a gloss or matte sealant specifically designed for polymer clay.
- Clear Acrylic Spray: If you used paint or markers on shrink plastic, a clear acrylic spray works well to protect your design.
Apply an even layer and allow the sealant to dry completely. This will give your Halloween lapel pin a polished, professional look.
Step 5: Attach the Pin Back
Once your design is sealed, attach a pin back to the reverse side of your piece. Use a strong adhesive, like E6000 or super glue, for a secure hold. Press the pin back firmly into place and allow it to dry fully. Once the glue is set, your Halloween lapel pin is ready to wear!
Creative Halloween Lapel Pin Ideas to Try
If you’re looking for some inspiration to make your Halloween lapel pins stand out, here are a few unique ideas to spark your creativity:
1. Glow-in-the-Dark Ghosts
Create a small ghost pin using glow-in-the-dark polymer clay or paint. The ghostly shape, paired with glowing features, makes this pin a standout accessory that glows in low-light conditions, perfect for Halloween parties or nighttime trick-or-treating.
2. Spooky Cat with Glitter Details
Design a black cat pin with a sleek silhouette and add a bit of glitter to the eyes or background for a magical touch. This pin works well with witch costumes or as an accessory on Halloween-themed jackets or bags.
3. Mini Jack-o’-Lanterns with Various Expressions
Make a set of jack-o’-lantern pins with different faces, ranging from cute to spooky. These can be worn individually or as a group to create a fun, pumpkin-themed accessory set that’s perfect for Halloween lovers.
4. Witch’s Hat with Metallic Accents
A small witch hat with metallic gold or silver accents adds a hint of magic. Use black clay as the base, and add tiny details like stars, moons, or a gold buckle for a more enchanting effect.
5. Mini Spell Books or Cauldrons
Craft a tiny spell book or cauldron pin to wear on Halloween night or give to friends as a keepsake. These designs add a unique touch to any Halloween-themed outfit and capture the essence of the mystical side of Halloween.
How to Wear Your DIY Halloween Lapel Pins
Once your Halloween lapel pins are ready, it’s time to style them! Here are a few ways to incorporate these spooky accessories into your Halloween look.
- On Your Jacket or Coat: Attach your pins to the lapel of your jacket or coat to show off your Halloween spirit without wearing a full costume.
- On Bags or Backpacks: Decorate your bag or backpack with Halloween pins for a spooky touch that’s easy to carry around.
- With a Costume: Add pins that match your costume theme. For example, ghost pins for a ghost costume or witch-themed pins for a witch costume.
- On Hats or Beanies: Pin a Halloween lapel to your hat or beanie for a casual, festive look that you can wear throughout the Halloween season.
- As a Set or Collection: Create a set of pins and wear multiple at once for a fun, layered look that celebrates Halloween in style.
These styling ideas show how versatile Halloween lapel pins can be, making them an easy addition to any outfit or accessory.
Using DIY Halloween Lapel Pins as Gifts or Party Favors
If you’re hosting a Halloween party or looking for unique gifts, DIY Halloween lapel pins make excellent options. Here are some ideas for using your handcrafted pins as Halloween treats:
- Party Favors: Offer pins as party favors for guests to take home, adding a personal and memorable touch to your Halloween gathering.
- Trick-or-Treat Alternatives: Hand out pins as a candy alternative or as a treat for older kids and teens who might enjoy something collectible.
- Friend Gifts: Make custom pins for friends, personalizing each with their favorite Halloween symbols or colors.
- Classroom or Office Treats: For teachers or coworkers, giving Halloween lapel pins adds a touch of Halloween spirit that can be worn in casual or professional settings.
With DIY Halloween lapel pins, you can spread Halloween cheer in a unique way that people can enjoy and reuse every October.
Crafting Halloween Lapel Pins for a Personal Touch
DIY Halloween lapel pins are an enjoyable, rewarding project that adds a personal touch to your Halloween look. From choosing a spooky theme and crafting the design to styling your finished pins, each step allows you to create a one-of-a-kind accessory that reflects your personality and Halloween spirit. With these pins, you can bring a bit of Halloween magic wherever you go, whether you’re attending a Halloween party, trick-or-treating, or simply celebrating the season in style.
The possibilities are endless when it comes to designing Halloween lapel pins, making them an exciting, creative activity for Halloween enthusiasts of all ages. So gather your materials, let your imagination take over, and get ready to make DIY Halloween lapel pins that are as unique and spooky as you are! If you are interested in ordering some high-quality lapel pins, feel free to call us at our Toll free number 1-877-513-4811 or fill out one of our FREE QUOTE FORMS.


